What do you do when you don’t want a web server running on the same server as you run your mail server? Not even for the sake of making Let’s Encrypt certbot create and maintain certificates.
The easy solution is to make use of API tokens and Digital Ocean DNS control. DO’s DNS servers needs to control your domain, since it needs to update the records to be able to check if it can update the DNS and read out the key it set.
To start, check your actual certs that are in use, if you already have certbot running with apache to manage your certs.
sudo certbot certificatesThis will give you a list of Certificate names, and which Domains that the certificates are for, the expiry date and paths. This is a good time to clean house. For my certs, I made it quick and easy at the first install, and that has come back to bite me.
The best way to manage certs, is to divide it up into for instance one domain -> one cert, but also divide it in services. If you have two domains that you host web services for, create two certs and name them for what they do.
Next step – regardless of this is a first set up or changing from a previous setup – you need certbot and the DO scripts. Run the command:
sudo apt update
sudo apt install certbot python3-certbot-dns-digitalocean
With this you are now ready for Digital Ocean and generating a new token for the dns scripts. Log in to Digital Ocean web administration panel, and scroll down to API and open it.
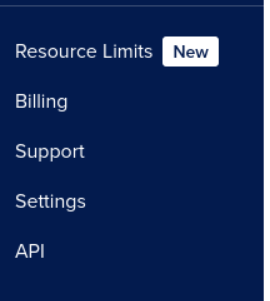
Here you can create a new Personal access token, to be able to use the domain features of Digital Ocean and Certbot.

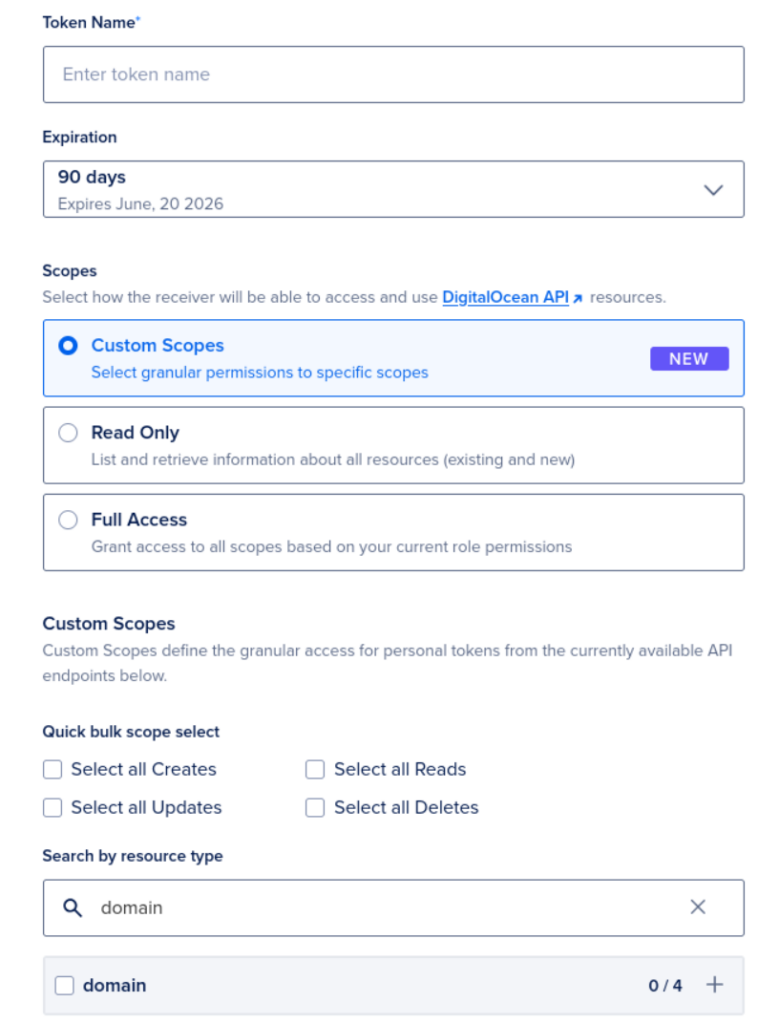
When generating the new token, give it a meaningful name, set expiration time, choose custom scopes and search for domain.
There is a create button just below the domain text, but it was outside the scroll able part of the webpage. When you select the domain and create the token, you get the token key and you need to copy that, so that you can use it in your setup.
When you have the token, you need to make a file that stores the token, so that it can be read by Certbot. I made a file under /etc/letsencrypt/ that is named do-dns.ini and added the token there, so the file contains only this line:
dns_digitalocean_token = My_TokenSave the file and exit, and change the permissions on the file (Certbot will complain if it is not the correct permissions):
chmod 600 do-dns.ini
Then all you need to do is run the Certbot command:
certbot certonly \
  --dns-digitalocean \
  --dns-digitalocean-credentials /etc/letsencrypt/do-dns.ini \
  -d mail.example.com \
  -d smtp.example.com \
  -d imap.example.com
Certbot will then create a cert for you, and you can now use it in what ever you like on that server. The certs will be stored in
/etc/letsencrypt/live/<name of cert>/
Have fun.